I saw all that empty space under the hood and made the mistake of thinking this would be easy. Easy under the hood, yes, everywhere else, no. They obviously modeled the dash in a 3-dimensional CAD system because there wasn’t any space to reach a few fingers into. I did finally managed to get the DC power wires though the firewall and to the passenger floorboard after removing the glovebox and front passenger seat (unbolted and moved back). Once I had the 10 AWG zip-wire there I put a Anderson PowerPole on it then started the next run of wire toward the trunk.
For the trunk run I went through the center console, wrapped around and under the drivers seat over to the drivers seatbelt then straight back into the trunk, all underneath the moulding. Once in the trunk I again terminated with an Anderson PowerPole then into a West Mountain Radio PWRguard PLUS and from there to a RIGrunner and then to the radio. The remote head and remote speaker required an audio cable and CAT5 cable run back through the same maze. Ice scrapers and paint stir sticks came in handy. The ice scraper would lift the body parts apart and the paint stick would push the wire in.
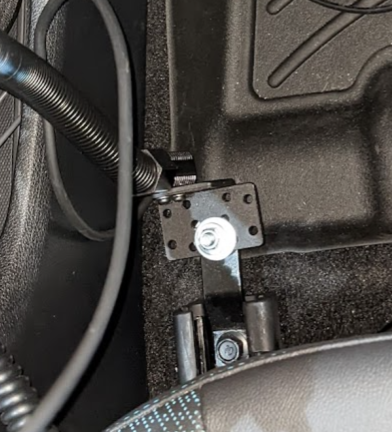
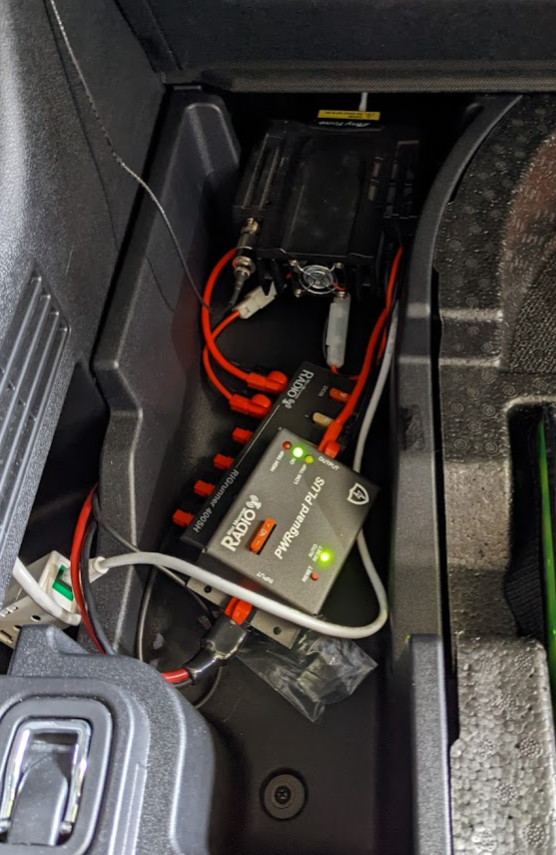
The LIDO Mount works great! It is attached to the passenger seat rail’s via the floor bolt. I’ve had to fine-tune the PWRguard as it was too sensitive. It still resets now and again but it has to be disassembled to program it (USB port is not externally accessible).
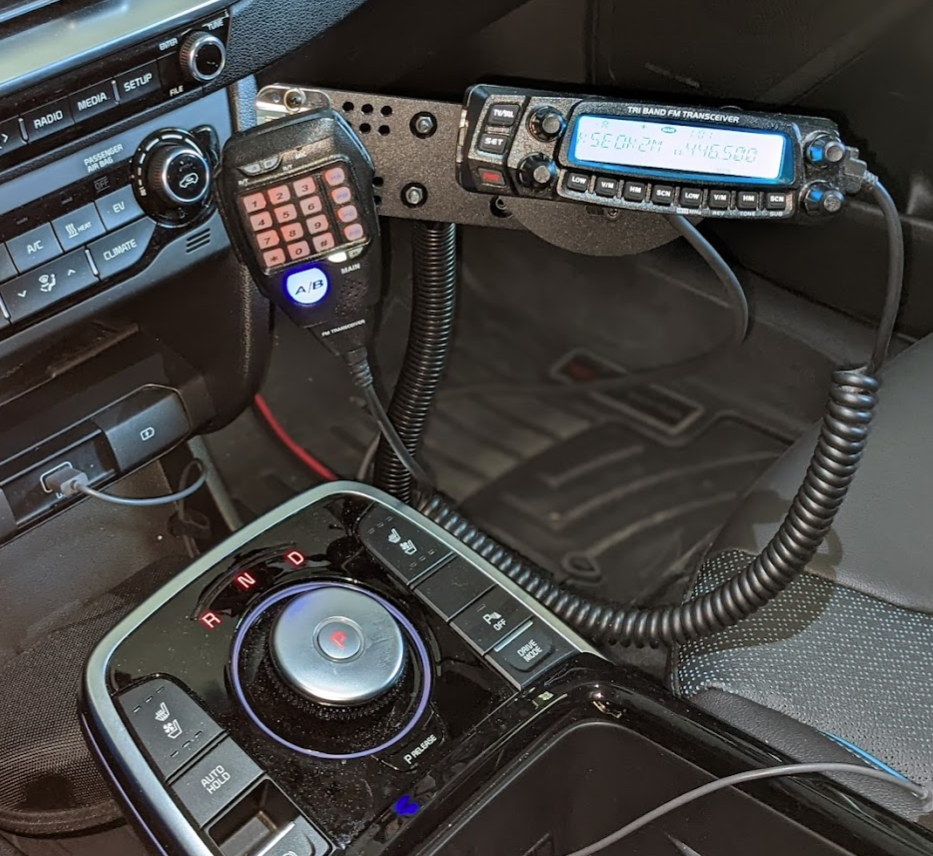
Here is the remote head on the LIDO mount
LIDO Mount into the seat rail’s floor bolt
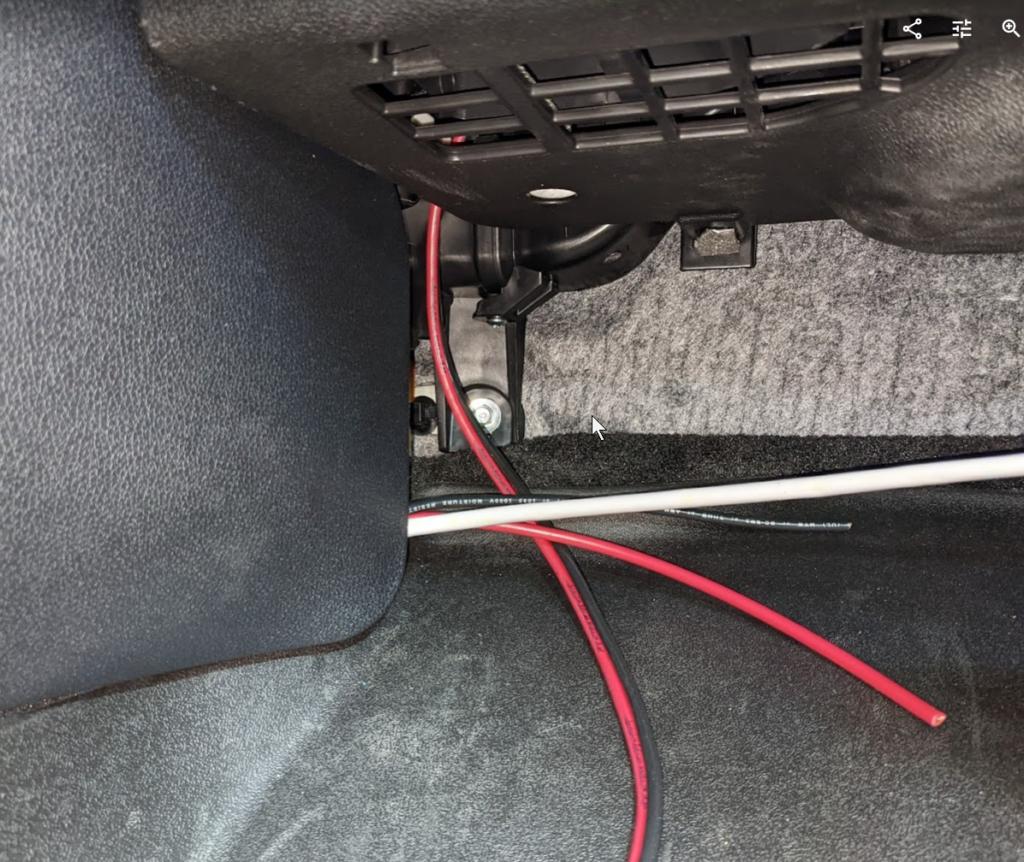
Here is where the zip-wire comes out from behind the glove box and a/c blower and the wires from the trunk come out of the center console, including the white CAT5.
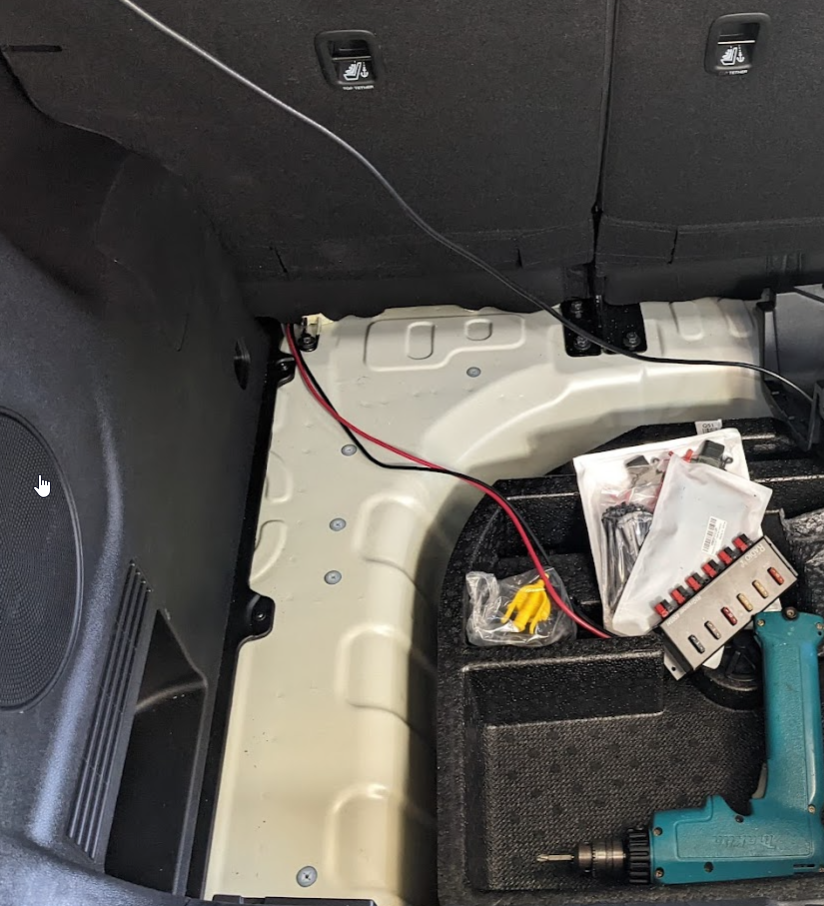
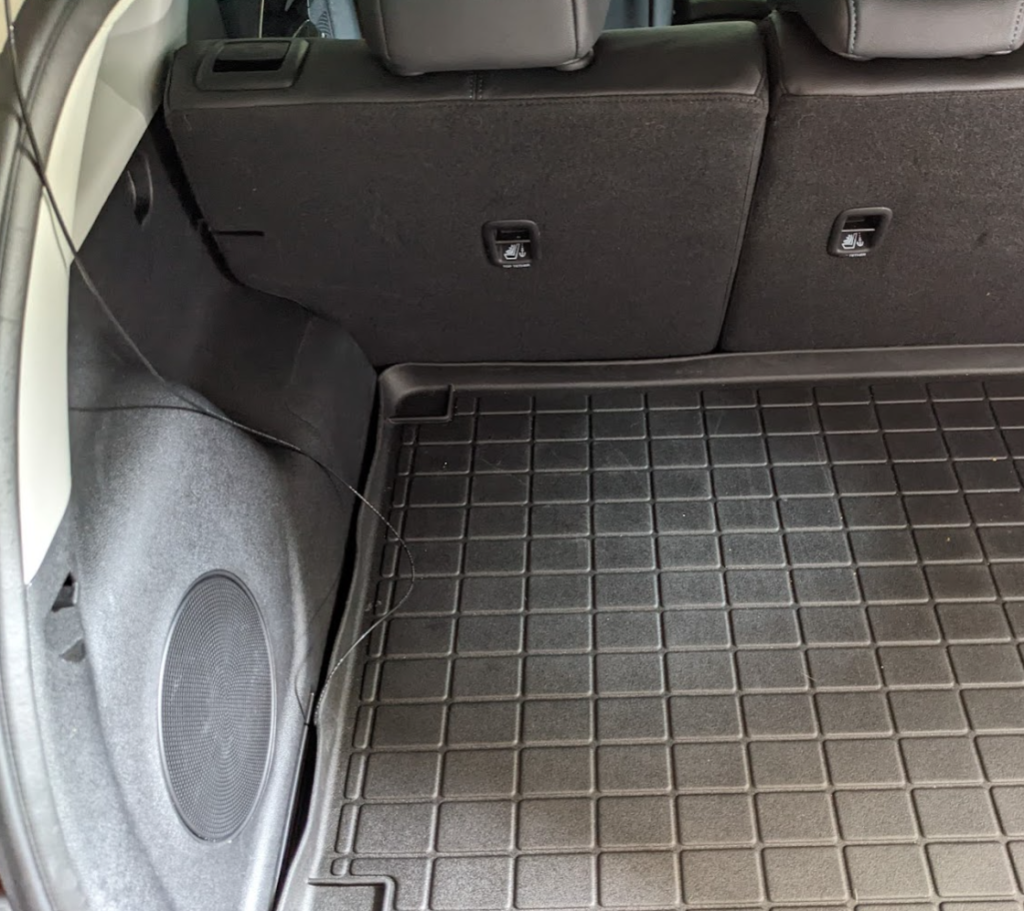
Here you see where the wires emerge in the trunk area.
Here is all the ‘junk in the trunk’. This is the Anytone radio unit, and the PWRguard and RIGrunner.
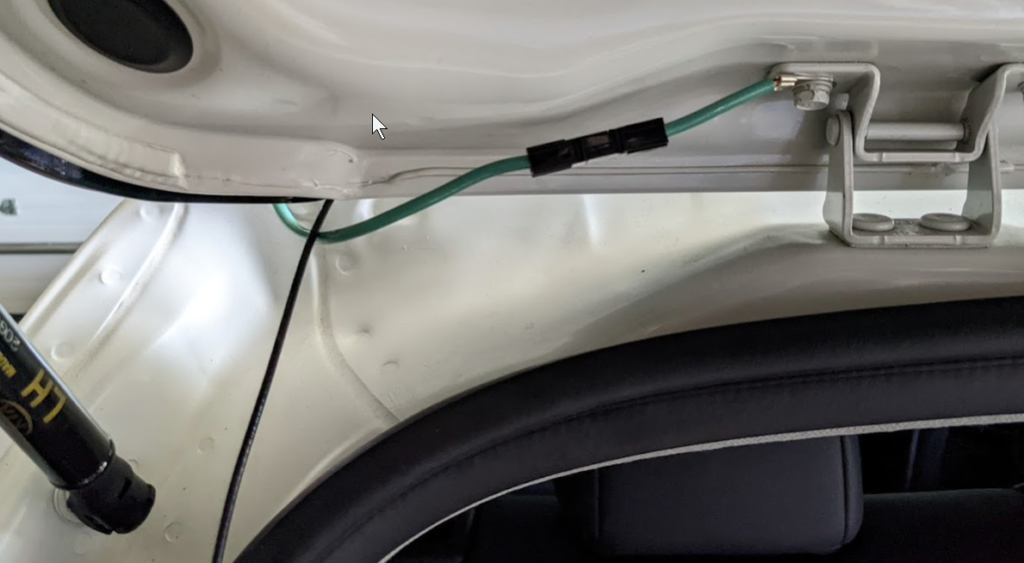
Ran a ground wire from the roof rack to the trunk lid bolt.. it was about the only spot I could find!
Also, for quick removal I put in a PowerPole connector.
Trunk space all closed up
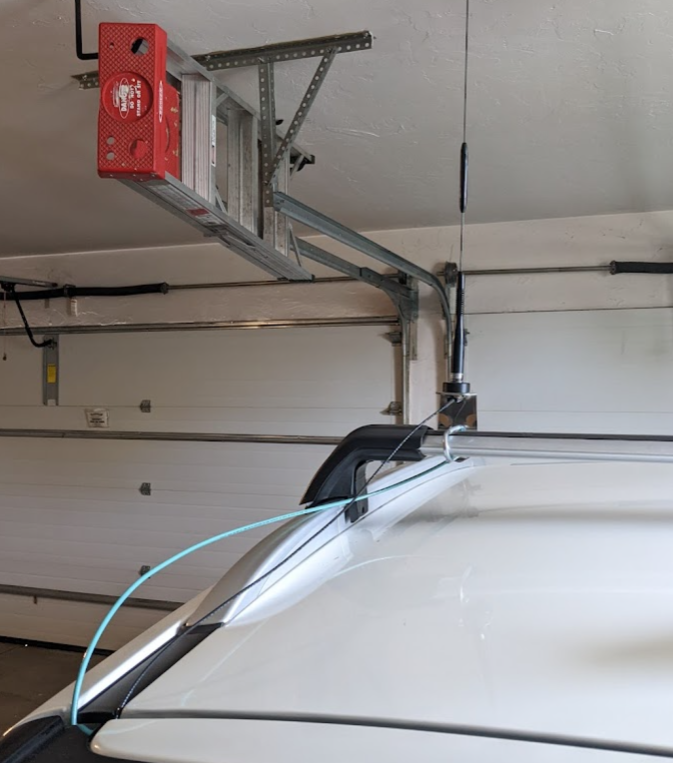
And the roof rack with one antenna.
As for the battery, yes the EV has a large high voltage battery for the motor. For the car’s computers and auxiliary items however the car also has a traditional 12v lead acid battery and this battery is trickle charged via the computer and high voltage main battery.
I’ve wired my system directly to the 12v lead acid battery post (with both leads fused at the battery and fused again at the trunk (RIGrunner). If one day I say go on the road with my IC-7610 I would likely disconnect from the car’s battery and add a 12-volt battery in a case in the trunk and maybe a solar panel on the roof! For an antenna I thought a CrankIR 80m-2m Vertical would be perfect however from some youtube reviews I see it takes about an hour to assemble (30m at best) and another 20~30 min to disassemble. Certainly more of a portable/static op 1-day or weekend antenna. Whatever I do I would likely have the solar panel configured to recharge the radio battery while on the move between destinations (state parks). To chase grid squares I would need something that could be ‘on the air in under 5 minutes so possibly a loop antenna.
Update: After trying to use the car 12v LED (Lead Acid Battery) for a few months I finally quit and switched to a portable LiFePo 12v battery in the back. The car trickle charges the 12vLED battery (as it should) but when it does so it also runs a desulfide cycle and pulses the battery with 15v or so. This kept tripping my PWRguard Plus voltage protector and interrupting the power. This is the battery I purchased for POTA.